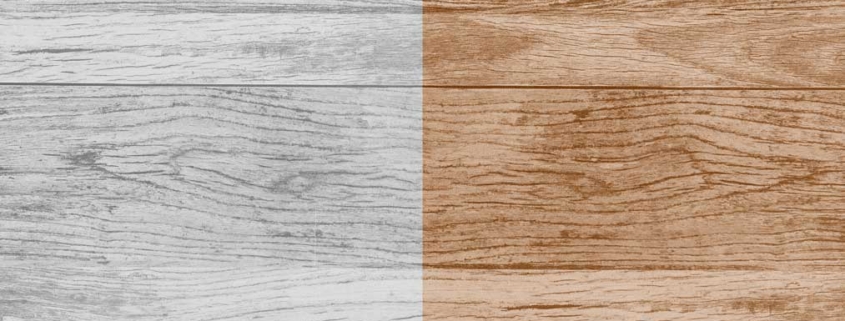
What Are My Options for Changing A Wood Floor’s Color?
Hardwood floors are a timeless and elegant addition to any home, but over time, you may find yourself wanting to refresh their appearance or completely transform the look of your space. Fortunately, there are several options available for changing the color of your wood floors, ranging from simple surface treatments to more intensive refinishing processes.
Sanding and Refinishing
The most comprehensive method for changing your wood floor’s color is sanding and refinishing. This process involves removing the existing finish and a thin layer of wood, allowing you to start fresh with a new stain color[1][4].
The Process
- Sand the floor to remove the old finish and expose bare wood
- Clean the floor thoroughly to remove all dust and debris
- Apply wood conditioner if necessary (especially for pine or maple)
- Choose and apply your new stain color
- Seal with a protective finish
Sanding and refinishing offer the most flexibility in terms of color options, as you can choose from a wide range of stains or even opt for a natural look. This method is ideal for floors with significant damage or those that have been previously stained a dark color that you want to lighten[4].
Considerations
- This is a labor-intensive process that generates a lot of dust
- It’s best suited for solid hardwood floors that are at least 3/4 inch thick
- Engineered hardwood can sometimes be refinished, but it depends on the thickness of the top wood layer
- Professional help is often recommended for the best results
Screening and Recoating
For floors with minor wear and an intact finish, screening (also known as buffing) and recoating can be an effective way to change the color slightly while refreshing the floor’s appearance[1][4].
The Process
- Lightly abrade the existing finish with a buffer and special screening pad
- Clean the floor thoroughly
- Apply a new coat of finish, which can be tinted to alter the floor’s color
This method is less invasive than full sanding and refinishing, produces less dust, and can be completed more quickly[1].
Considerations
- Only works on floors with polyurethane finishes
- Cannot address deep scratches or significant color changes
- Best for maintaining or slightly altering the floor’s current appearance
Chemical Abrasion Kits
For a DIY-friendly option that doesn’t involve sanding, chemical abrasion kits can be used to etch away the old finish and prepare the floor for a new color[6].
The Process
- Clean the floor thoroughly
- Apply the chemical solution from the kit using an abrasive pad
- Clean the floor again with a mixture of water and dishwashing liquid
- Apply a new stain (if desired) and finish
This method allows you to change the floor’s color without the mess and effort of sanding[6].
Considerations
- May not be as effective as sanding for significant color changes
- Results can vary depending on the existing finish and wood type
- Proper ventilation is crucial when working with chemical solutions
Applying a Tinted Topcoat
For a subtle color change or to enhance the existing tone of your wood floors, applying a tinted topcoat can be an effective solution[3].
The Process
- Clean and lightly abrade the existing finish
- Apply a tinted polyurethane or other protective coating
This method can add a slight color shift while also providing a fresh layer of protection for your floors[3].
Considerations
- Limited color change possibilities
- Works best for enhancing or slightly darkening the current color
- May need to be reapplied more frequently than other methods as the tinted layer wears off
Whitewashing or Bleaching
For those looking to dramatically lighten their wood floors, whitewashing or bleaching can be effective techniques[3][4].
Whitewashing
- Sand the floor to remove the existing finish
- Apply a mixture of white paint and water or a commercial whitewash product
- Seal with a clear protective finish
Bleaching
- Sand the floor to bare wood
- Apply a wood bleach product
- Neutralize the bleach and allow the floor to dry
- Apply a light stain or clear finish
These techniques work best on lighter woods and can create a bright, airy look[3][4].
Considerations
- May not be suitable for all wood types
- Can be challenging to achieve an even result
- Bleaching is a more permanent change and requires careful handling of chemicals
Painting
For a bold and unconventional approach, painting your hardwood floors is an option that offers unlimited color possibilities[5].
The Process
- Sand and clean the floor thoroughly
- Apply a primer designed for wood floors
- Paint the floor with specialized floor paint
- Seal with a clear, durable topcoat
Painting can be an excellent choice for floors that are too damaged to refinish traditionally or when you want a completely unique look[5].
Considerations
- Dramatically changes the character of the wood floor
- May be difficult to return to a natural wood look in the future
- Requires regular maintenance and touch-ups in high-traffic areas
Changing the color of your wood floors can breathe new life into your space and completely transform the look of your home. Whether you opt for a traditional refinishing process or a more creative approach like painting, it’s essential to consider the condition of your floors, your desired outcome, and your willingness to maintain the new look. For best results, especially with more intensive processes like sanding and refinishing, consulting with a professional flooring service can help ensure a beautiful and long-lasting result.


Leave a Reply
Want to join the discussion?Feel free to contribute!